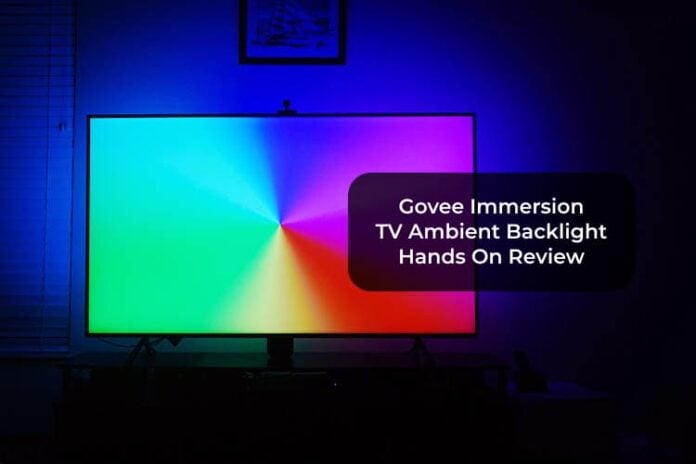
Govee Immersion is an affordable Ambilight alternative through which you can save tons of money and turn any TV into a smart Ambilight TV.
Govee Immersion: Overview
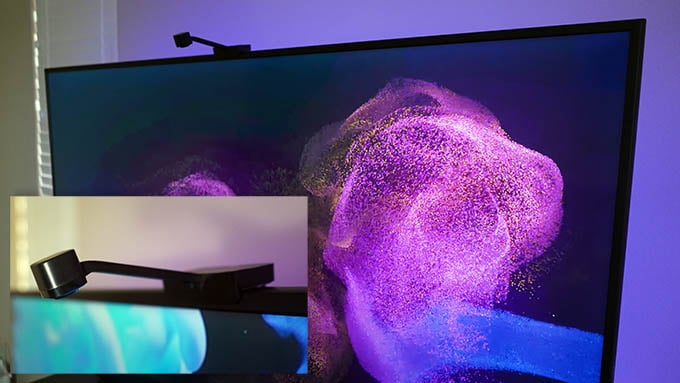
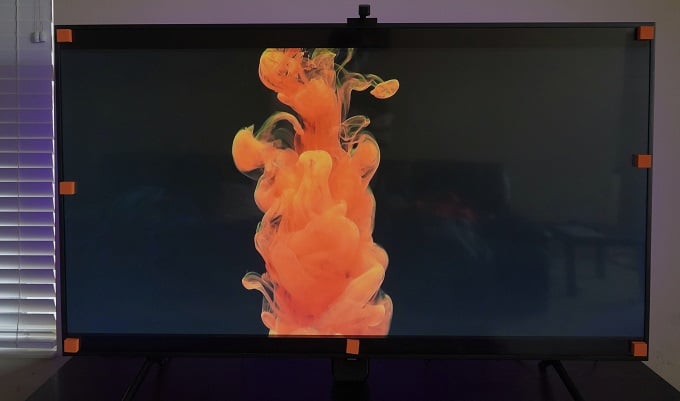
Upgrading your TV was the only best option to get ambient lighting before and oh boy those TV sets were painfully expensive. You’d had to pay an awful amount of money just to add a bit of Ambilight. But now, with the Govee Immersion TV LED Backlights with Camera, you can get a stylish cinema-like TV experience without burning a hole in your pocket. Govee Immersion is a WiFi-enabled smart RGBIC LED backlight that runs around the back of your smart TV. The included fisheye camera captures the colors from the screen and projects them onto the wall through the RGB strip. This light bleeding effect creates an immersive illusion and gives a luxurious touch to your living room TV. With the smart home control and WiFi control through the Govee app, all the presets and light shades are just a click away. There’s quite a lot to talk about this budget-friendly RGBIC smart LED TV backlight.
Govee Immersion Specifications
The Govee Immersion RGBIC backlight surely looks splendid on paper. Take a look at the overall hardware specs of the Govee Immersion Smart TV Ambilight. The hardware specs, on the whole, are attractive enough, and at this price tag, it is pretty much the best. But yet, we’ll really need to know whether the Govee Immersion’s a game-changer or not.
Design
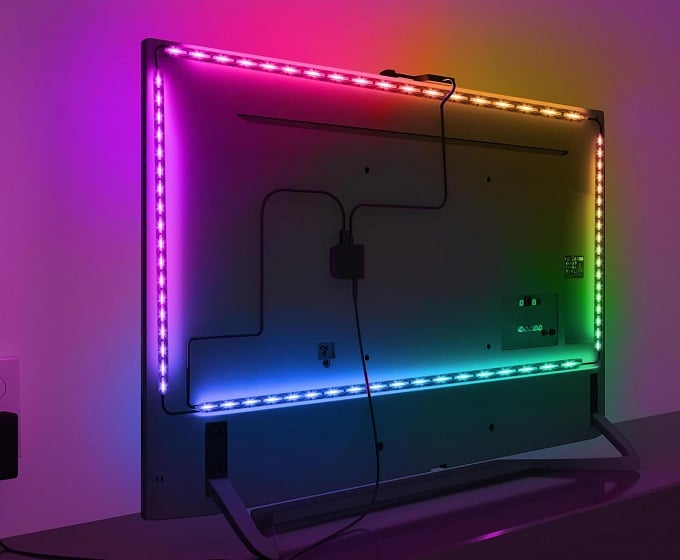
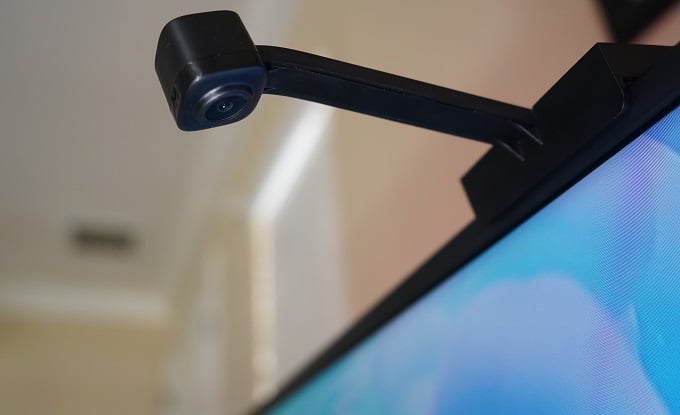
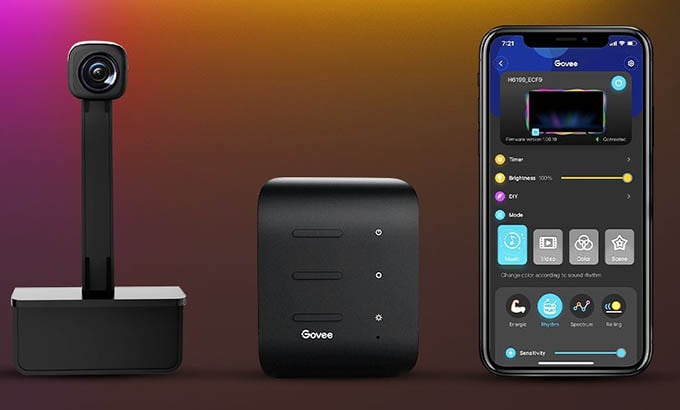
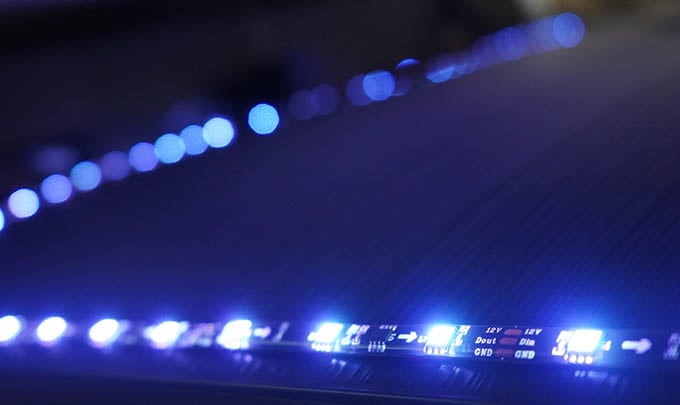
The Govee Immersion includes three main components. These include a set of RGBIC LED strips, a control box, and a 1080p Fish Eye Camera. All three units work hand in hand to illuminate your TV background with vibrant colors captured from the TV display. The LED strip is 12.5ft, or I’d rather say it is labeled into 4 sections. There is a total of 114 LEDs arrayed to the LED strips. These LEDs are based on the new RGBIC technology, so they can change color and brightness individually. This is what makes the LED strip illuminate by mocking the colors of your TV screen. The Light Strips have good adhesive peel-offs designed to run around your 55″ or 65” Smart TVs. I’ll talk about how you can get the initial setup done without much hassle as we move on. The next essential unit is the Fish Eye Camera. This is a 1080p camera that has a USB A port that goes right into the control unit. There is also a 3M sticky pad right at the place, which you can use to fix the camera on top of your TV. The camera head and the body are around 4,” and this means that the camera stays at a distance of 4” from your TV screen. Anything less than that will distort the color as well as the responsiveness of the camera. This camera uses Colour Sense Technology, which mimics the color shades on your screen. We did mount the camera unit both at the rear and the top edge of the TV. And there’s a considerable difference in response and vibrancy when the camera unit is fixed at the top. But if you think the camera’s blocking the view (in most cases, you won’t), you can mount it at the rear edge. We’ll give a clear idea of why it is better to set the camera at the top as we get into the installation part. The control box powers up when you plug in the 12V DC power adapter. The compact control unit stays hidden at your TV’s rear side. A super gluey 3M sticky pad helps you keep the unit discretely onto the rear panel of your TV. The control box has a color change button and a power button. On the right is the USB A port for the camera and a USB C port for your LED strips. The DC power plug is at the left, and near it, you’ll find the inbuilt mic to sync your music. The mic comes into play when you switch to Music Mode via the Govee Home App. We’ll talk about all these as we go on.
Installation and Mounting
The physical installation of the Govee Immersion is a bit tricky. The process is a bit time-consuming. You will have to take care of the calibrated strip ends a bit cautiously. The adhesive on the strip is super strong. Once you fix them, there’s no going back. The whole LED strip is around 12ft and is divided into 4 sections for ease of use. The LED strips should be cautiously glued onto the rear of your TV. The strip is enough to fit a 65” TV. If you have a TV larger than 65-inches, say 80-90-inches, today won’t probably be your day. You’ll have to deal with some tedious adjustments to fit the LED around the rear of your TV. Fitting on larger TV may cause a serious loss of light from the rear. Govee sent a couple of attaching clips for smaller TVs to help you tuck in the excess portion from the LED strips. The 4 sectional design has, in a way, helped me to install the LED strips without too much bending and curling around. The clips tuck in the excess wired area between the sections quite well. Once the LEDs are perfectly fixed to your TV, you’re well and good for the next step. The next step is to install the 1080p HD Fish Eye Camera accurately. Depending on your preference, you can mount the camera to the top or bottom of the TV. When you mount it at the top, the worst part is that the camera might always be in sight and could bother some people. The 3M adhesive tapes on the camera are pretty much strong. Fix the camera in the correct position, so you don’t have to touch it again. Choosing the best spot to mount the camera depends upon a lot of factors. If you’re in a pretty dark room with no or limited light interference from the outside, then there’s no problem in mounting it at the bottom. The outdoor and indoor lights can also interfere with the camera if it is mounted at the bottom. I do feel that it is better to mount the camera right at the top. A slight adjustment to keep it away from sight will do the trick. Once the LEDs and the Camera are in place, the next thing is to attach the control box. The control box is designed to stay fixed at the rear side of the TV. The 3M sticky pads on the control unit take care of that. Once that’s done, plug the LED strip into the USB C port and the camera into the USB A port. The control box is where captured color scales and LEDs syncing take place. Once the physical setup is done, it’s time to head on to the Govee Home App for some app-based tweaks and settings. For me, the whole process took around 20 minutes, and if the LED strip doesn’t get messed up, you’ll probably get things done within no time.
App Based Setup
The real game starts when you’ve installed the Govee Home app. The one thing I noticed with the Govee Home app is that it’s way better and more user-friendly than it used to be. Once you open the app, you’ll see your connected Govee gadgets. At the top left, there is the “Add” button. Just tap on that and scroll down you’ll see the Govee Immersion. Once you select the Govee Immersion, your phone and device connect via Bluetooth. There are 8 foam stickers in total, each to specified corners/edges of your TV’s display. The sticky foams are quite good and have a good level of adhesives but make sure to be gentle, or else the TV screen can get sticky trails. I know what you’re thinking, who on earth sticks adhesive foams onto your expensive TV screens? But yet, this part of the setup is essential to calibrate the camera. Once that’s done, the app prompts whether you’re planning to mount the camera at the top or the bottom. Oddly enough, I tapped at the top and proceeded further into the app.
Govee Home App Controls
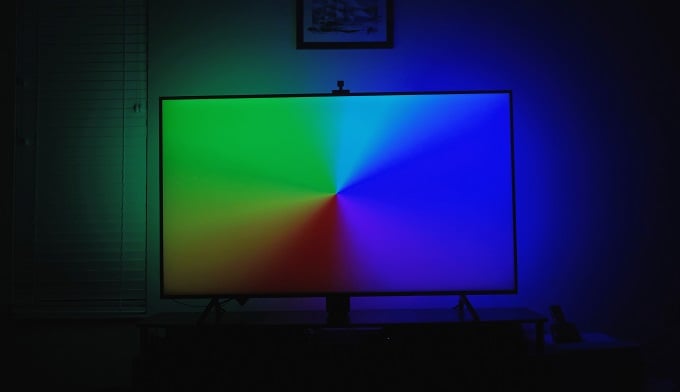
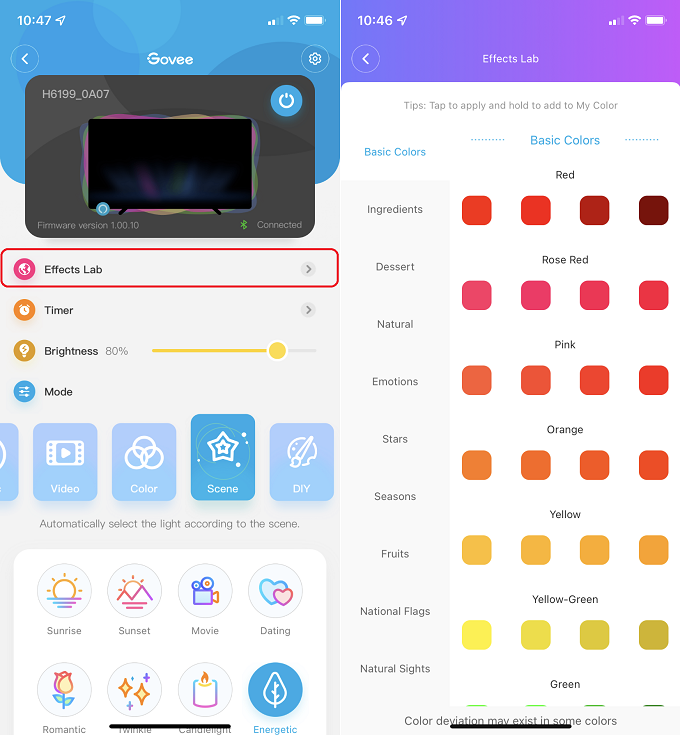
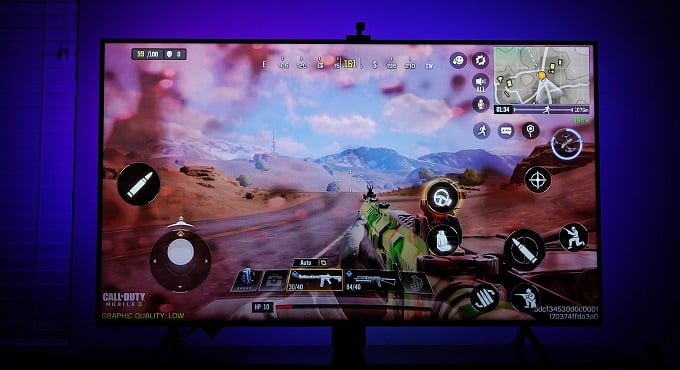
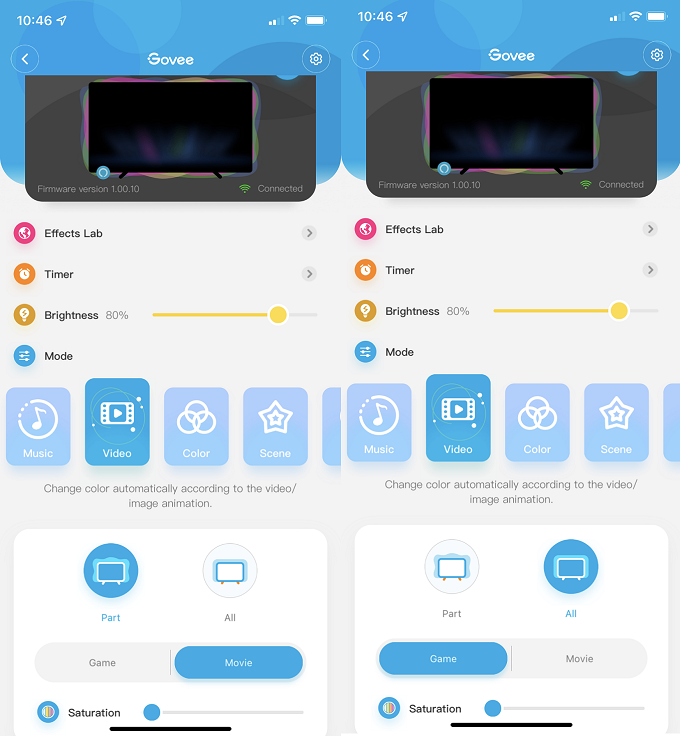
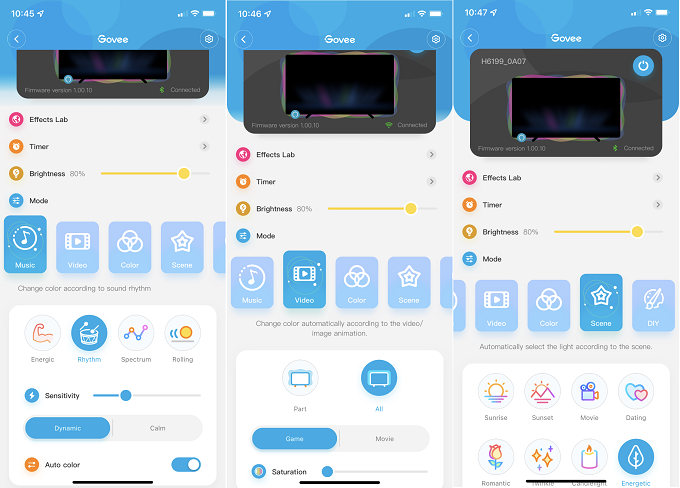
The Govee app is now quite user-friendly. The app smoothly takes you through all the settings, modes, and other options. The settings include the recalibration, WiFi, and other essential things that you need to perform timely tweaks. Moving along down the app, there is the Effects Lab. The Effects Lab is just amazing. It lets you play with the color shades and set the LEDs to your favorite ones along each section or as a whole. Beneath the Effects Lab option, you’ll find the Timer and Brightness adjustments. You can either set the brightness to an optimum level or play with it according to your home’s ambient lighting. The thing I loved the most about the Govee Home app is that you get a wide variety of preset modes to choose from. The Govee Immersion bleeds through with modes like Video, Colour, Scene, and DIY. Each of the modes let also feature its own custom changes. From all of these, the Video Mode was the star of the show. It offers two setups, the Part and All. The part mode dynamically pics the color scales near the edges. On the other hand, the “All” mode creates a blend of all the accumulative colors on your screen. There is also the Game or Movie mode that controls the transition pace. The game modes are better with Part as there is a somewhat better delay time than any other. So far, every settings and mode are pretty much accessible from the Govee Home App. The backlight also supports smart Assistants like Google Assistant and Alexa but is much more limited than the Govee Home app.
Smart Home Controls
As I said earlier, the Govee Immersion comes integrated with Google Assistant and Alexa out of the box. You can connect it with your smart Assistant in a jiffy with active WiFi. But don’t get too excited because the features here are pretty limited. You can only control the basics, like the voice-controlled Power On/Off or toggle colors. keep in mind that you can only set solid colors to the LED backlight through voice commands. There is no Apple HomeKit support for the Govee Immersion, which is a bit downside for Apple users.
Key Features
The Govee Immersion is splendid enough to give you an elegant TV experience. Some of the cool features are truly innovative. Here are the best features that make the Govee unique in its league; RGBIC Technology The Govee Immersion works on RGBIC technology and is similar to the monitor pixels. Every LED present in it has its own IC to control colors individually. The LED strip produces lighting effects and scenes that a normal LED strip cannot. Preset Lighting Modes and Effects The Govee Immersion offers tons of custom lighting modes. There is the Video, Music, Scenic, and DIY mode, to name a few. The Video Mode further includes the Part and All option coupled with the “Game” or “Movie” setting. The next is the Music Mode, and this one works with an inbuilt mic. The mic syncs the backlight with the beats of your tones to give your rooms an enjoyable vibe. Altogether, there are Preset Music Modes and 12 Scenic Modes to mix and play with. For me, the Video mode, with Part coupled with the game setting, does the trip. I really did feel that the game mode is a bit quick when it comes to color scale changes and responses. The Govee Home app also includes the Effects Lab. This is where you can play with different color scales and set them individually or within a segment. You’ll need to get a bit familiar with how to select the best color for your rooms.
Key Features
Key Features: RGBIC LED strip | WiFi and Bluetooth connectivity | HD 1080p Fish Eye Camera | Govee Home App | Alexa, Google Home support | Segmented color control | Responsive lighting modes | Inbuilt Mic and Music Modes | Dedicated Control Box
Affordable price tagTruly immersive with RGBICGreat build qualityGovee Home app controlsSmart Assistant support
Camera is prone to light interferenceDelay in color responseBacklights might get distracting at timesBrightness control is not accurate
What’s In the Box
Let us look at what you’ll get at the time of the full delivery. The Govee Immersion RGBIC Backlight for smart TV comes in a compact packing and has all the necessary accessories for initial installation. Apart from the RGBIC LED strip, you will be getting;
1080p Fish Eye Camera UnitThe Control unitDC Power PlugUser manual8x adhesive foamsAdditional 3M sticky tapes and clips
Pricing and Availability
Final Verdict
The Govee Immersion might be the start of something we’ve all been waiting for, affordable Ambilights for your smart TVs. The device packs quite a lot of features up its sleeves. Its ability to color map and produce them via RGBIC LEDs is truly fantastic. With its HD Fish Eye Camera, the Immersion does capture all of those vibrant colors on your screen and brings those colors to life. I was pleased with its color response, but a certain delay in response was evident. Overall, the LED strips offer decent lighting and responses and looking at its price tag; you can’t ask for more. Despite a minor reaction time delay, Govee offers an exquisite splash of bright colors. Thanks to this new and improved RGBIC LED strip. The RGBIC even allows you to customize and play with the color shades the way you like. The smart assistant support, as well as the app-based tweaks, are what make Immersion a great deal you shouldn’t miss. Apart from the smart assistant, there is the Govee Ecosystem sync. I was able to sync both the Govee Lyra as well as the Immersion. For those who own a couple of Govee Smart Lightings, getting the Immersion does add a bit of luster to your homes. Notify me of follow-up comments by email. Notify me of new posts by email.
Δ